Creating a Vault
A vault is the folder where Fern keeps all your notes, journals, and templates. Everything in a vault is plain text on disk - you own your data.
First run
Run fern in your terminal. On your first launch, a setup wizard walks you
through creating a new vault or pointing Fern at an existing folder:
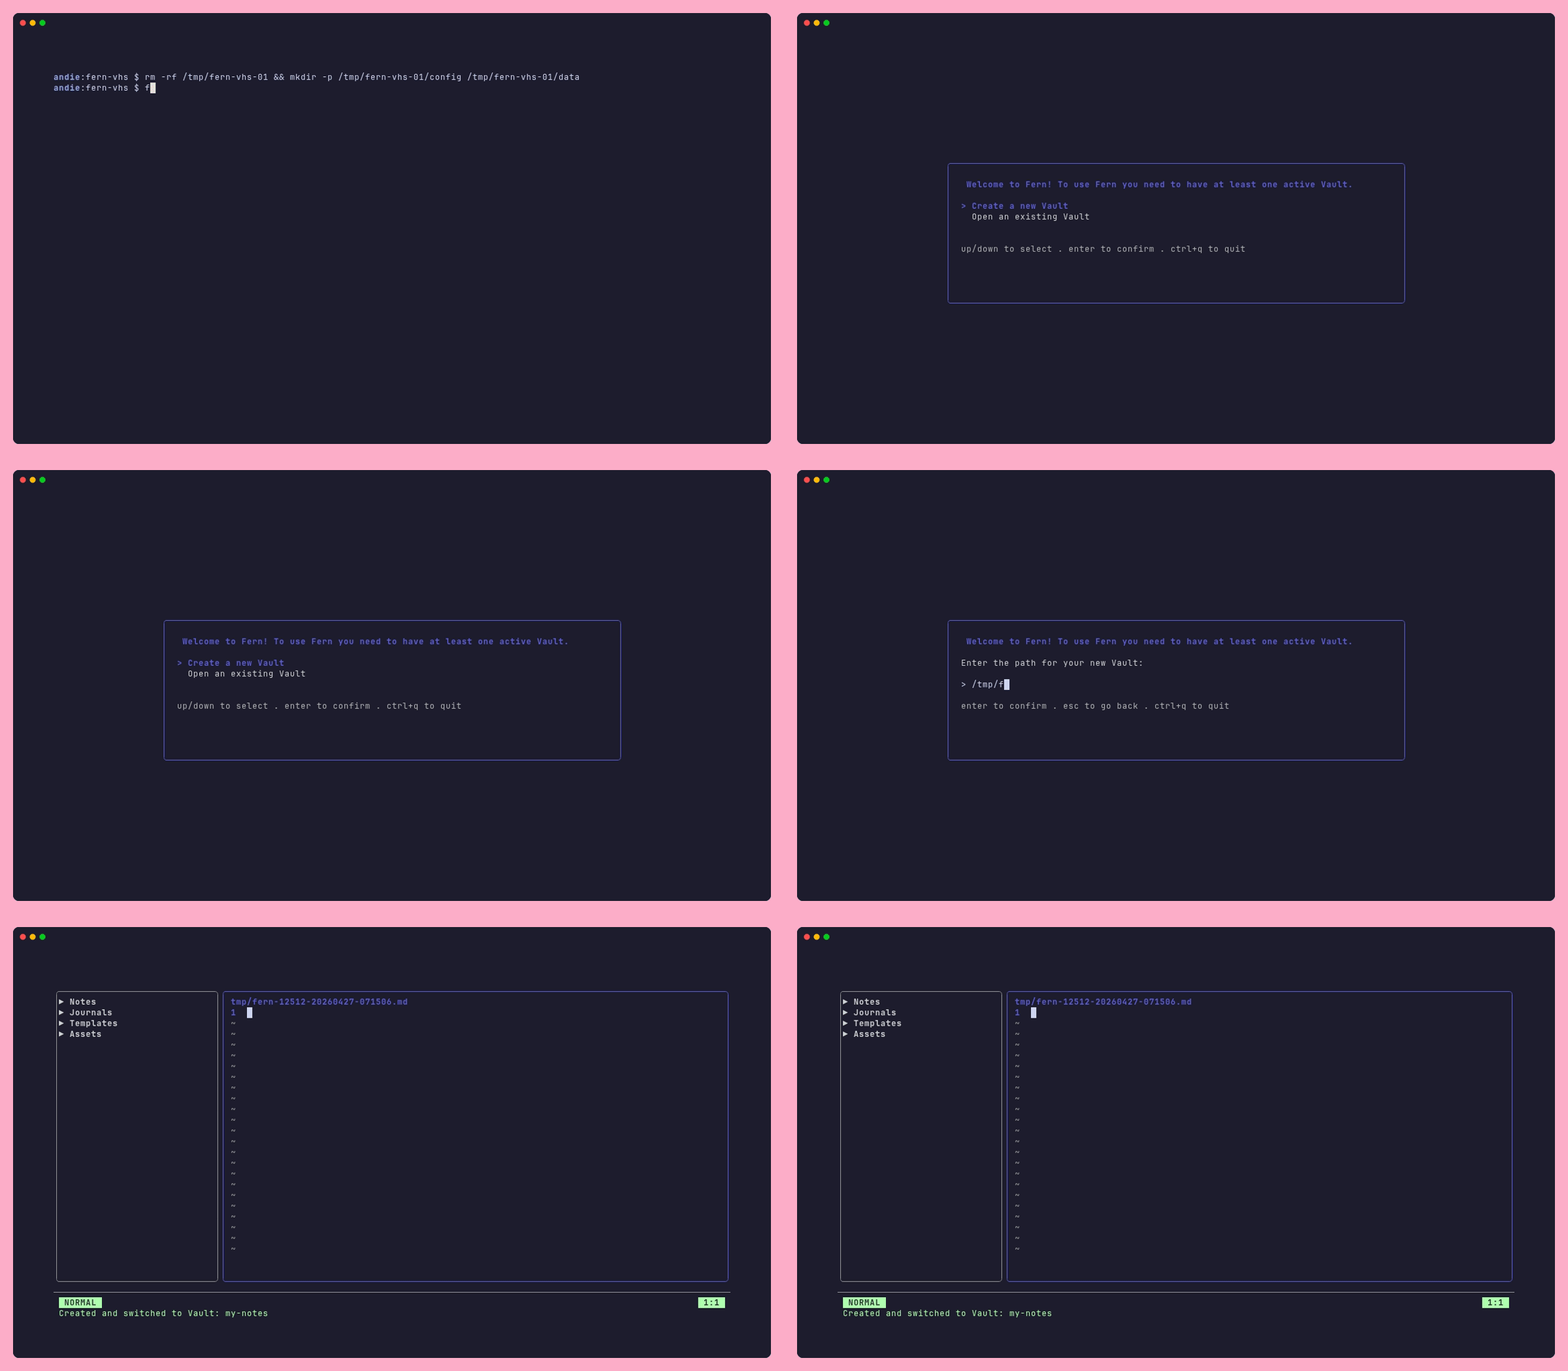
Select "Create a new vault", enter a path (for example ~/notes), and press
Enter. Fern creates the following structure inside that folder:
~/notes/
  notes/        - your notes live here
  journals/     - daily, weekly, monthly, and yearly journal entries
  templates/    - reusable note templates
  .fern/
    config      - vault-level settings (overrides global config)
    bookmarks   - saved bookmark list
Vault Actions
Creating additional vaults
Once Fern is running, open the command bar with : and run:
:vaultCreate ~/work-notes
Loading an existing vault into Fern
Existing notes folders can be loaded into fern using:
:vaultLoad ~/work-notes
Changing the active Vault
You can switch between any of your vaults using the vault folder name:
:vaultSwitch work-notes
HINT: You can use the command palette (ctrl+p) and search for "Vault" to being up all the above vault actions available too.
Vault-level configuration
Each vault has its own .fern/config file. Settings in that file override your
global user config for that vault only. This lets you have, for example, a
different theme or week-start day per vault.
See Configuring Fern for the full list of available options.
Next: Write your first note